Last updated November 21, 2026
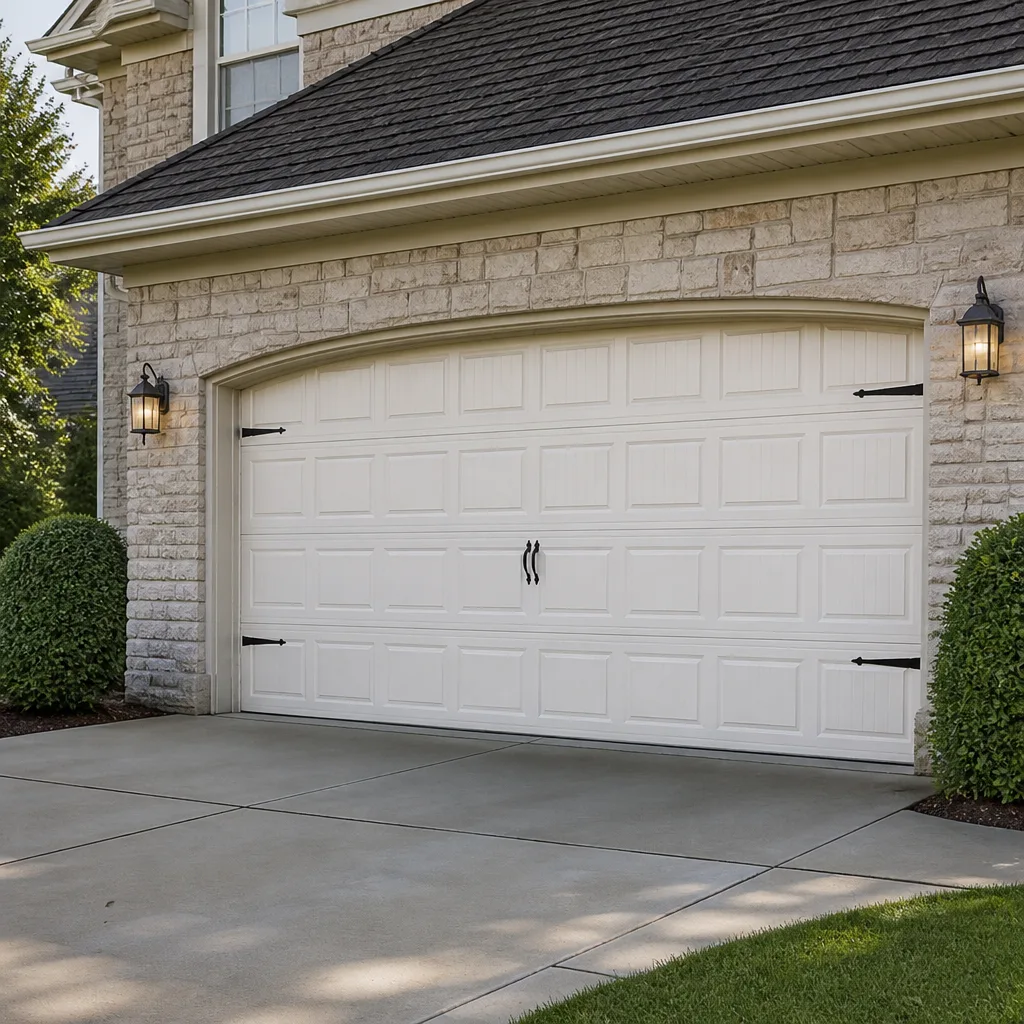 Raised-panel steel
 Carriage house
 Modern flush
 Full-view glass
 LiftMaster openers
 Chamberlain openers
Full 25-point door and opener safety check with every visit - springs, cables, rollers, tracks, and your LiftMaster or Chamberlain opener included
You get a price before we start. It does not change when the pro arrives.
Get your free estimateGarage Door Repair Maintenance Checklist for Pearland Homeowners
Most homeowners assume the loud bang from the garage means a spring snapped out of nowhere. In our experience across Pearland, it rarely happens that way. Torsion springs almost always announce themselves first, with a slight sag, a darker coil, a wobble on the way up. Those signals sit in plain sight for weeks, and they get missed because nobody told homeowners what to look for. This guide fixes that. It walks through a real maintenance checklist built around the failure patterns we see most on Pearland service calls, ranked by how often they turn into emergencies. You’ll get time estimates for each task, humidity-specific checks that matter in this part of Texas, and a clear line between what you can safely handle and what belongs with a technician.
Quick Answer
A garage door maintenance checklist for Pearland homeowners should cover monthly visual checks (springs, cables, rollers, tracks), quarterly lubrication and balance testing, and an annual full inspection by a technician. Most items take under 15 minutes and require no tools beyond a rag and a can of lithium grease. The two things you should never adjust yourself are the torsion springs and the cables, because both are under extreme tension and can cause serious injury.
Styles & brands we work with
- Raised-panel steel
- Carriage house
- Modern flush
- Full-view glass
- LiftMaster openers
- Chamberlain openers
Table of Contents
- Why Pearland’s Climate Changes the Checklist
- The Monthly Checklist (15 Minutes)
- The Quarterly Checklist (30 Minutes)
- The Annual Checklist and What to Hand Off
- Humidity Checks: Spotting Rust Before It Spreads
- How to Test Balance and Spring Tension Safely
- Choosing the Right Lubricant for South Texas Heat
- Checklist Items That Can Void a Manufacturer Warranty
Why Pearland’s Climate Changes the Checklist
Manufacturer maintenance pamphlets get written in a neutral voice for a neutral climate. That works fine if you live somewhere dry and steady. It doesn’t work in Pearland, where the air holds moisture through most of the year and summer temperatures push metal components hard. A checklist copied off a box of hinges won’t tell you that your springs are more likely to show surface corrosion than they are to dry out, or that your tracks can develop rust at the seams where panels bolt together.
Here’s what actually shifts the priority order for a Pearland garage:
- Humidity drives rust, not cold. Springs, cables, hinges, and track seams collect condensation. Rust starts as a small brown pinpoint and grows into pitting that weakens the coil.
- Summer heat stresses opener electronics. Modern openers like LiftMaster and Chamberlain units pack logic boards and capacitors into a sealed box in the ceiling of your garage. That box gets hot. Heat ages capacitors faster than use does.
- Storms push debris into tracks. Pearland sits in a storm-active corridor, and wind-blown grit and leaf matter settle into tracks and between rollers and hinges.
- Winters are mild enough to skip a full seasonal tear-down. No freeze-thaw cycles to plan around, which means the checklist can run on a simple monthly-quarterly-annual rhythm instead of season-specific prep.
Homeowners in places like Silverlake, Shadow Creek Ranch, and Riverstone see the same pattern. The failure modes are consistent, and they’re all visible ahead of time if you know where to look. We’ll cover each one below.
The Monthly Checklist (15 Minutes)
The monthly check is a walk-around, not a repair session. Fifteen minutes, no tools beyond a flashlight and a rag. The goal is to catch small changes while they’re still small.
- Look at both torsion springs. Stand back and study the coils above the door. A healthy spring looks even and consistent. A fatigued spring sags slightly, shows a visible gap between coils, or carries a darker color in one section. Any of those needs a technician’s eyes.
- Run the door and listen. Open and close once. A door that’s working properly is steady and quiet. A grinding, scraping, or popping sound means something’s off. Note where the sound is coming from.
- Check the safety sensors. Both sensors at the base of the tracks should have lit indicator lights. If one’s dark or flickering, wipe the lens and check for debris or a spider web.
- Test the auto-reverse. Place a roll of paper towels under the door and let it close. The door should reverse on contact. If it doesn’t, the opener’s force settings need attention, and you should stop using the door until they’re checked.
- Visually inspect cables and drums. Look at the steel cables running along each side. Frayed strands, kinks, or a slack cable are red flags. Do not touch them.
- Wipe rust spots early. Run a rag along hinge plates and the inside of the tracks. Any brown residue gets noted for the quarterly session.
- Check the weather seal along the floor. A torn or stiff bottom seal lets in water, insects, and heat. Replacement seal is inexpensive.
If anything in steps 1, 2, or 5 turns up a real problem, don’t wait for the quarterly session. Call us for a look, or if the door won’t open at all, schedule garage door repair before the issue spreads. A failing spring caught in the monthly check almost never turns into a stuck door.
The Quarterly Checklist (30 Minutes)
Quarterly is when lubrication and balance come in. Set aside half an hour, and remember that the safety rules below matter.
- Disconnect the opener. Pull the emergency release handle so the door moves by hand only.
- Run the balance test (see the dedicated section below). This tells you whether springs are pulling evenly and the door’s weight is distributed properly.
- Lubricate hinges, rollers, and track seams. Use a lithium or silicone-based grease. Wipe off excess.
- Inspect cables and drums again. Look for fraying, kinks, or a cable that’s jumped the drum. If anything’s off, stop and call.
- Wipe rust points you flagged in the monthly check. A light coat of the same grease on the spot slows progression.
- Test the manual lock (if you have one). Slide it in and out to confirm it’s not seized.
- Reconnect the opener and test both directions. Run the door up and down. It should feel smooth and consistent.
- Check the photo-eye alignment once more. Sensors can drift slightly over a few months.
Homeowners in Pearland who stay on the quarterly rhythm rarely need emergency calls for anything other than a part failure. That’s a meaningful difference. If your balance test or lubrication turns up a bearing that grinds, or a roller that refuses to turn, it’s time for a technician to look at the door. If the opener itself is misbehaving, garage door opener repair covers the diagnosis across LiftMaster, Chamberlain, Genie, and Craftsman units.
The Annual Checklist and What to Hand Off
The annual session is where a technician earns their keep. Some of what happens here genuinely requires training and tools, and some of it is you confirming that everything you’ve been doing all year actually worked. Plan on the technician portion last, after you’ve done your own review.
Your annual tasks (about an hour):
- Full panel and window-frame inspection for cracks or loose fasteners.
- Roller and hinge replacement for any that are worn, noisy, or stuck.
- Seal replacement at the bottom of the door.
- Cleaning the tracks and vacuuming debris.
- Battery replacement in the safety sensors (many have battery-backed versions) and any opener remotes.
- Confirming that your opener’s wall controls, remotes, and smart features are all functioning.
Technician tasks (do not attempt):
- Torsion spring tension check and adjustment.
- Cable inspection and replacement.
- Drum and bearing inspection.
- Opener gear and logic board diagnosis.
- Counterbalance calibration after any spring work.
Torsion springs and cables are under extreme tension. They can release suddenly and cause serious injury even when they look calm. That’s why garage door spring repair is a dedicated service for us, not an afterthought. A technician has the winding bars, the training, and the safety protocol. When a Pearland homeowner calls us for an annual inspection that uncovers a fatigued spring, we can plan the replacement before it fails and takes the door with it.
Humidity Checks: Spotting Rust Before It Spreads
Rust in a Pearland garage doesn’t begin as a wide patch of orange. It starts as a pinpoint speck on the coil side of a torsion spring, or at the seam where a track section bolts to the next. The trick is knowing where to look.
These are the rust nucleation points technicians see most often:
- Inside the torsion spring coils. You can only see this from the side, looking between coils. A dark spot at the coil face is the earliest sign.
- Hinge plate edges. Where the hinge meets the door panel is a moisture trap. Look at the underside of each hinge.
- Track bolt heads and seams. Any fastener on the track is a potential starting point, especially the seams where two track sections meet.
- Cable ends and drums. Cable terminations rust faster than the cable itself.
- Roller stems. Roller stems that no longer turn freely can be rusted in place.
- Opener hardware. The bolts attaching the opener rail to the door bracket.
Once a rust speck appears, it progresses. You can slow it with a light coat of lithium or silicone lubricant, but you can’t reverse the metal loss. In our experience, Pearland homeowners who catch rust at the pinpoint stage get years of extra life from the same hardware compared to those who catch it at the pitting stage. Spring damage is the expensive out. If a coil shows rust or sag, treat it as a fatigue warning and call before it goes.
How to Test Balance and Spring Tension Safely
You can test a door’s balance and get a real read on spring health without ever touching the spring or the cable. The test is designed to be safe with the door’s own mechanics doing the work. Follow these steps exactly.
- Clear the area. Nothing under or around the door. No car, no kids, no pets.
- Disconnect the opener. Pull the emergency release cord. The door should now move freely by hand.
- Lift the door halfway. Raise it to roughly the middle of its travel. It should move with some resistance but feel controlled.
- Let go. A balanced door will hold position with maybe an inch or two of drift. A door that slams down means the springs are weak. A door that climbs up on its own means the springs are over-tensioned.
- Listen as you lower it. Grinding, popping, or a creak during the lowering motion gets noted. That’s a hardware problem.
- Reconnect the opener. Pull the emergency release handle again once the door is engaged, or toggle the opener per its instruction manual.
That’s the entire test. You never touch the spring coils, the winding bars, or the cables. If the door fails the balance test, stop running it and get a technician out. An over-tensioned spring can snap a cable under load, and that’s the failure mode that hurts people. There’s no safe homeowner version of spring adjustment, even for someone handy. Our technicians have up to 10 years of experience with these systems, and balancing a torsion setup still gets both winding bars, eye protection, and full attention.
Choosing the Right Lubricant for South Texas Heat
Not every product sitting on the garage shelf belongs on a door. In the wrong heat or humidity combination, some lubricants gunk up hinges, attract dust, or dry to a film that makes things worse. Here’s the practical breakdown.
What to use in Pearland’s climate:
- Lithium grease on hinges, roller stems, and track seams. Holds up to summer heat better than lighter oils.
- Silicone spray on weather seals and any plastic components. Won’t degrade rubber over time.
- White lithium spray on the opener rail, if your opener uses one.
What not to use:
- WD-40 or similar multipurpose oil on tracks or hinges. It works as a cleaner, but it doesn’t lubricate under load. It also attracts dust, which turns into a paste on track surfaces.
- Thick axle grease or chassis grease on roller stems and hinges. Too thick for the small bearing surfaces, and it traps grit.
- Anything labelled “penetrating oil” as a long-term solution. It’s a first-aid measure, not maintenance.
- Silicone or Teflon spray on the track surface itself, unless the track’s manufacturer specifies it. A slippery track lets rollers slide instead of roll.
Store your lubricants inside the house rather than the garage. The summer heat in a Pearland garage can degrade some products in their cans. Wipe excess grease off hinges before closing up. Homeowners in communities like Southern Trails and Clear Creek find that a light quarterly routine with the right products is all the door needs.
Checklist Items That Can Void a Manufacturer Warranty
A lot of garage door warranties are broader than homeowners realize, but the exclusions matter just as much. Doing the wrong maintenance task yourself can void coverage on the parts that fail later, and that’s an expensive way to save a two-hundred-dollar service call. The manufacturer sets these rules, not us, so read your own documentation first. Here’s what typically happens.
- Adjusting the torsion springs yourself is almost always an immediate warranty issue on the spring and the counterbalance system. Manufacturers expect a qualified technician, full stop.
- Winding or unwinding cables is treated the same way. Any damage traced to homeowner adjustment is excluded.
- Adjusting the opener’s force and limit settings without following the manufacturer’s procedure can void the opener warranty. LiftMaster, Chamberlain, and Raynor units in particular list the correct procedure in the manual, and force settings set incorrectly can physically damage the door.
- Using the wrong lubricant usually doesn’t void a warranty outright, but it can if it damages the track finish or the door’s coating. Stick to manufacturer-approved lubes.
- Modifying or bypassing the safety sensors will void warranty coverage on the opener and create a real safety hazard.
For doors under an active warranty, our recommendation is simple: read the maintenance section of the warranty first, and if it names a specific product or procedure, follow it exactly. Anything involving springs, cables, or opener internals belongs with a technician. We work on Craftsman and Clopay systems often, and our best advice is the same – let the documented warranty guide your call on what to touch and what to leave alone.
Common Mistakes to Avoid
- Calling a general handyman for a spring. A torsion spring is a different piece of equipment than anything in a general contractor’s toolkit. It carries a specific failure risk and needs the right winding bars and training. Use a specialist.
- Lubricating the tracks. A slippery track makes rollers slide instead of roll, which wears both faster. Lubricate hinges and rollers, not the track surfaces.
- Ignoring a single loud pop. A torsion spring can break silently in one coil and still function for a while. If you heard a pop, get the door checked even if it’s still moving.
- Using WD-40 as the maintenance lube. It displaces moisture well, but it doesn’t hold up under heat or load. Use a lithium or silicone product designed for the purpose.
- Storing lubricant cans in a Pearland garage through summer. The heat can degrade the product and cause the propellant to behave oddly. Move them indoors.
- Skipping the balance test because the door “seems fine”. The balance test is how you spot a weakening spring. If the door drifts or barely holds when lifted halfway, that’s data – don’t overrule it.
- Adjusting the opener’s force settings to compensate for a sticking door. This treats the symptom and stresses the opener. If the door’s sticking, fix the door.
See the difference
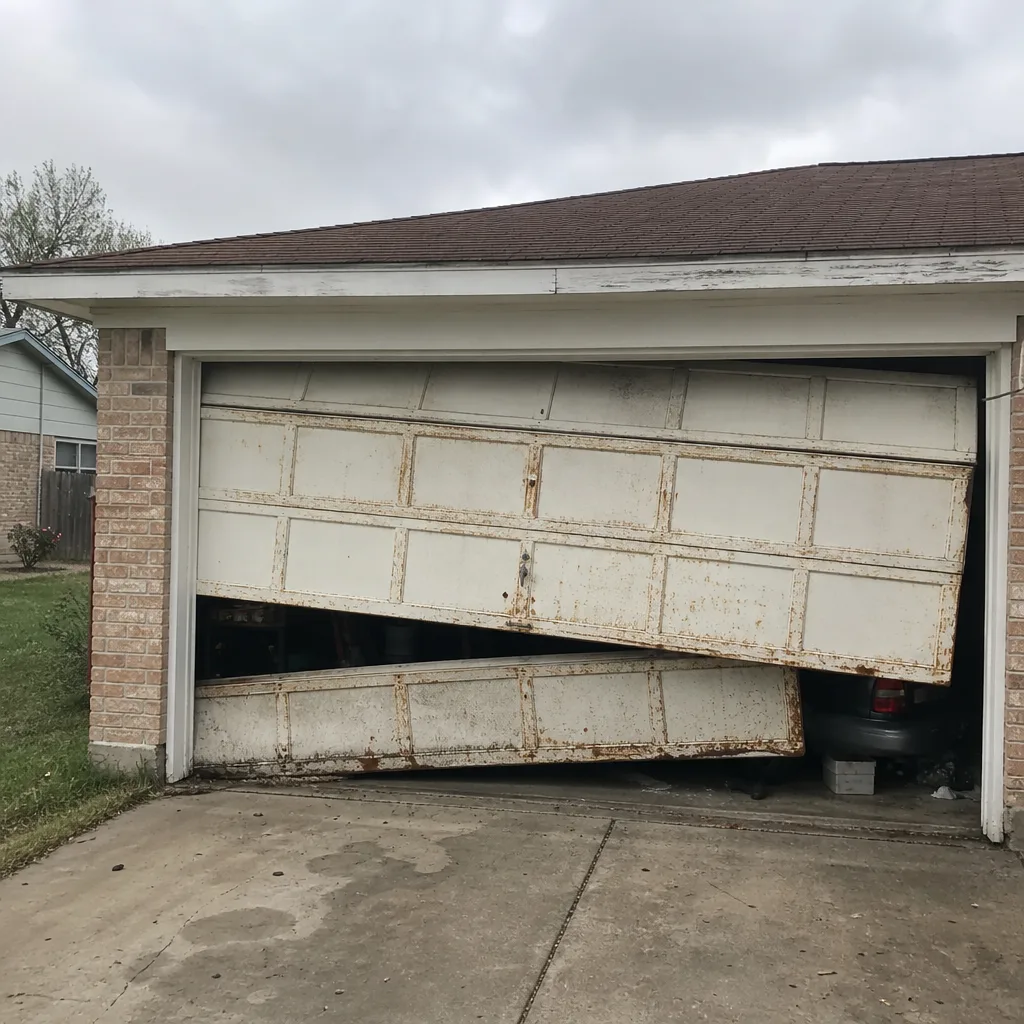 Before
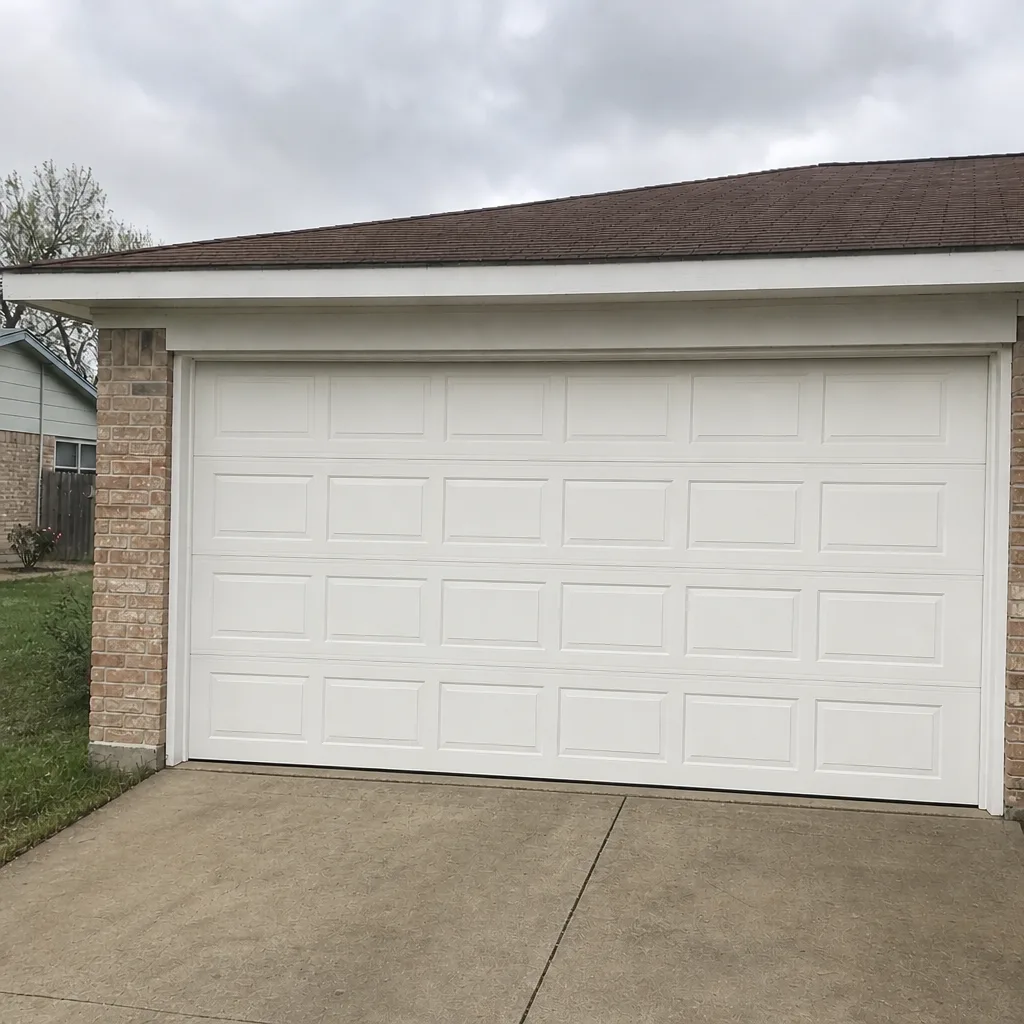 After
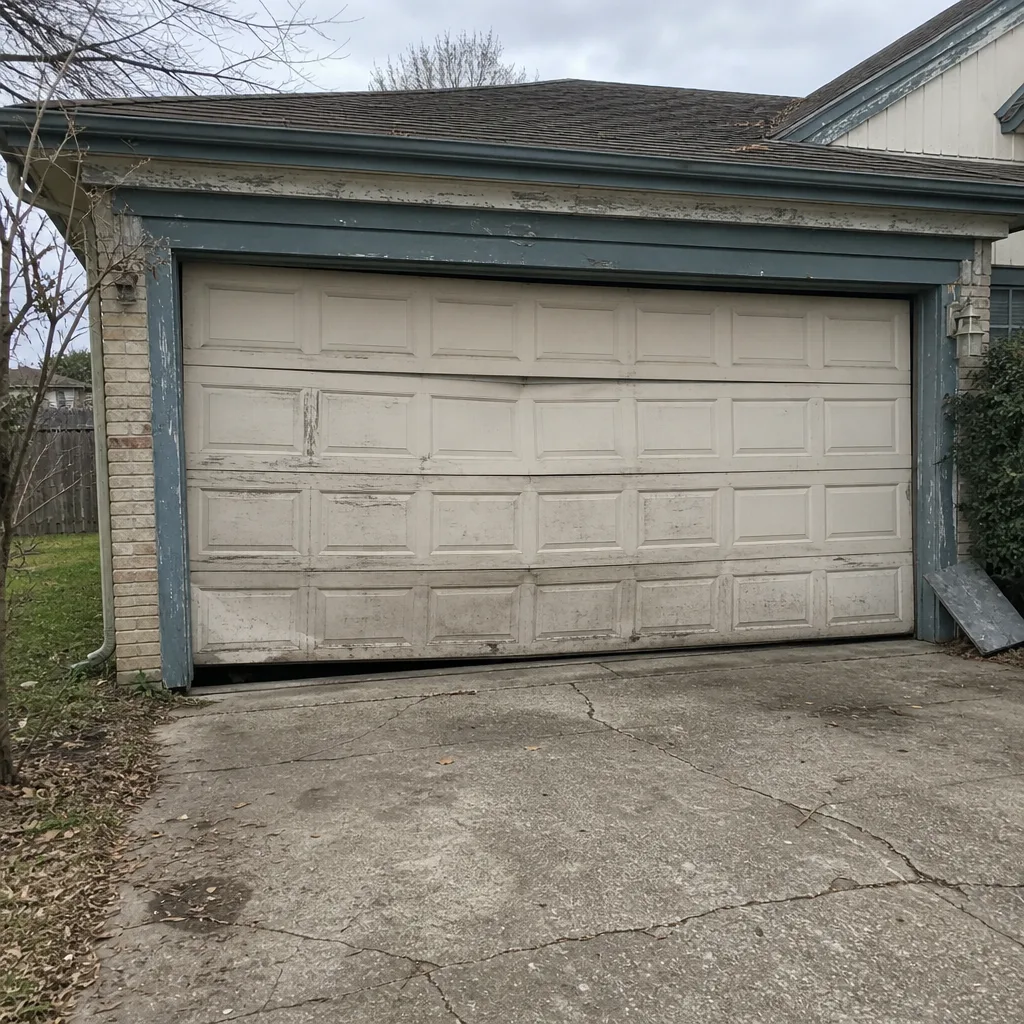 Before
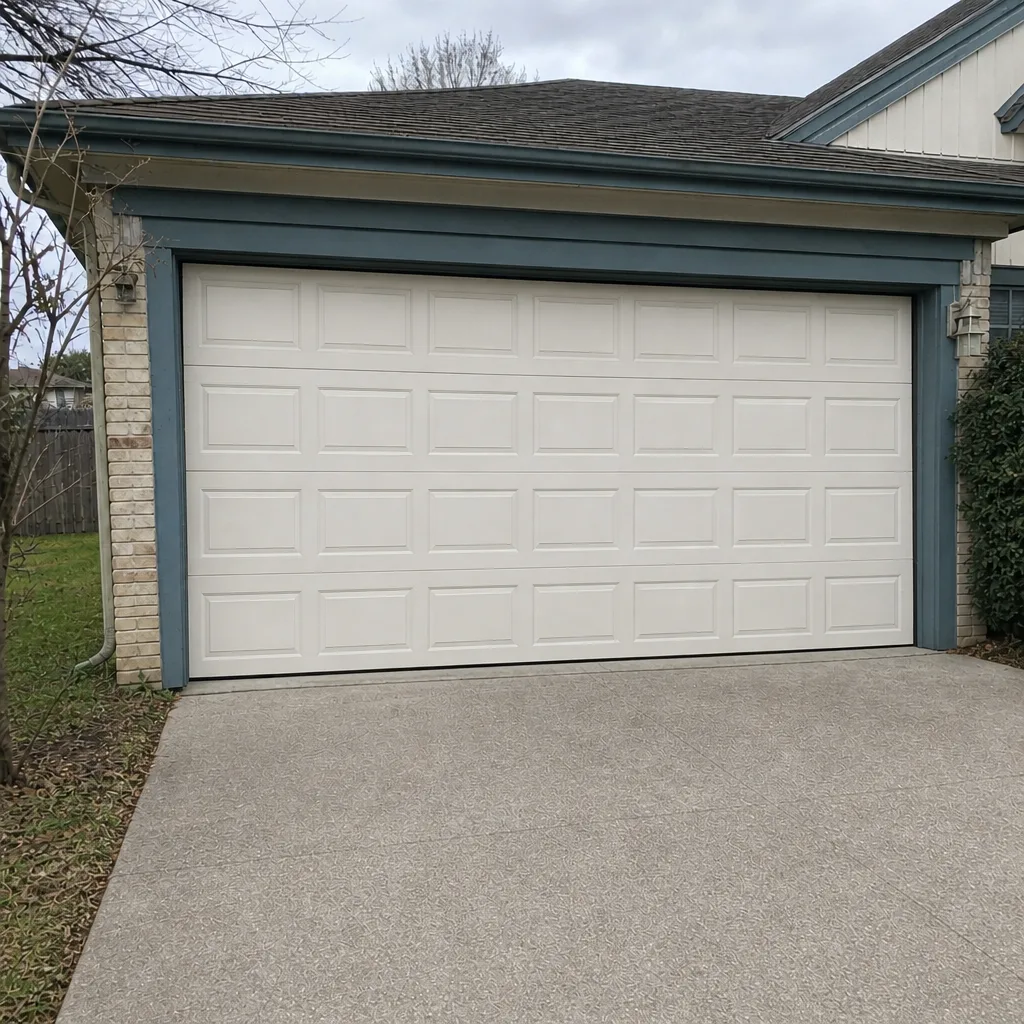 After
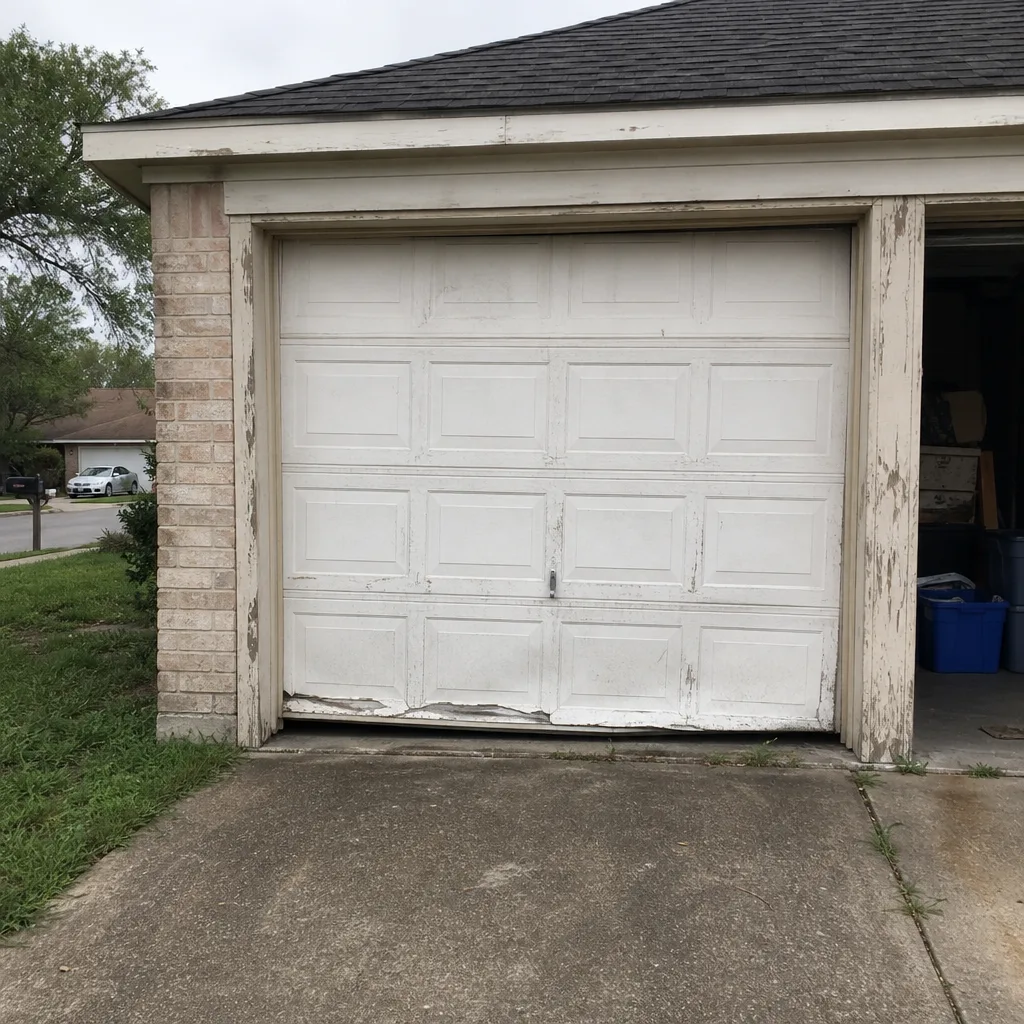 Before
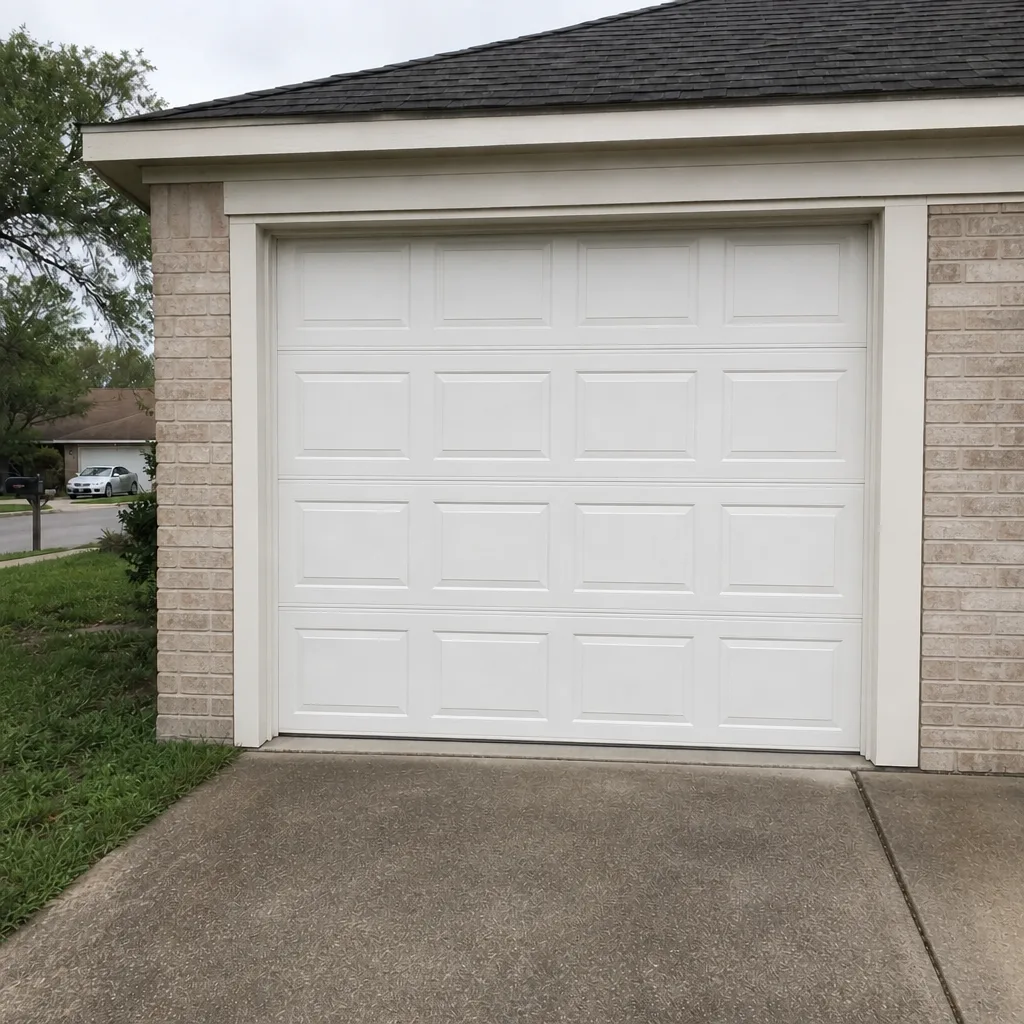 After
When to Call a Professional
Some maintenance tasks are yours. Some belong with a trained technician, and the line between them is clear. Call us if you’ve heard a bang or pop from the door, spotted rust or sag on a torsion spring, found a frayed or slack cable, or your balance test shows the door can’t hold halfway. Call us if the auto-reverse test fails, if the door opens crooked, or if the opener behaves erratically after a power event. Call us for annual inspections if you’d rather hand the whole checklist off. Pearland Garage Door Repair Pros offers free estimates in Pearland – call (844) 956-5614. A technician will diagnose the specific door and opener, not guess at the fix. If the door’s still functional and you’re not sure whether you’re looking at a problem or normal wear, call anyway. Better a short call than an unexpected failure.
Frequently Asked Questions
Once a month for a visual check, once a quarter for lubrication and a balance test, and once a year for a technician inspection. That rhythm works well in Pearland because the local climate skips the deep cold that forces seasonal tear-downs elsewhere, but its humidity makes quarterly attention more important than the manufacturer’s generic schedule suggests. If your door is older or sees heavy daily use, tighten the intervals. Call (844) 956-5614 to schedule the annual inspection – estimates are free.
A fatigued torsion spring that failed after showing warning signs. In our experience, most emergency calls from Pearland homes trace back to a spring that had been sagging, rusting, or drifting for weeks before it finally let go. The monthly check catches this early. If you’re not sure what a healthy spring should look like, ask a technician for a quick look, and we can help.
You can, but you shouldn’t. Tracks are meant to be dry and clean, not lubricated. Lubricate hinges, roller stems, and the opener rail instead. Tracks get wiped down with a rag and checked for debris. If your door runs rough, the cause is usually the rollers or the balance, and a technician can diagnose which one without guesswork. Call (844) 956-5614 for a free estimate.
Look for sagging coil gaps, rust on the coil side, and a door that drops or climbs when you lift it halfway and let go. The balance test is the safest homeowner check. Listen for pops or bangs, too. A spring that’s popped one coil can still function for a while, which is why we suggest not waiting. If anything looks off, stop using the door and call for a look.
Permits are generally not required for maintenance on an existing residential garage door, but repairs that alter the structure or electrical work on the opener may fall under different rules. The real answer depends on your specific project and your city’s building department. Call them directly before starting anything structural, and if you’re hiring out, confirm that the contractor handles the rules for you. We can answer questions about the door itself – call (844) 956-5614.
Maintenance is preventive – checking, lubricating, and testing parts that are still working. Repair is corrective – fixing something that’s broken or failing. Maintenance is what stops you needing repair. A sticking hinge gets lubricated at quarterly, not replaced. A worn hinge gets replaced during repair. Both have their place, and it pays to know which one you’re looking at. If you’re unsure, call (844) 956-5614 for a free diagnosis.
The Bottom Line
A garage door maintenance checklist for Pearland should prioritize humidity-driven rust, heat-related opener stress, and spring fatigue over the generic tasks you’ll find in a manufacturer’s pamphlet. The monthly check is a 15-minute walk-around. The quarterly session adds lubrication and a balance test. The annual inspection belongs with a technician for springs, cables, and opener internals. Homeowners who stay on this rhythm consistently get more years out of their door and avoid the emergency calls that start with a fatigued spring nobody spotted. Whether it’s a broken spring, a failing opener, or a full replacement, the right fix for your specific door and opener starts with knowing what to look for. Garage doors are all we do, and we’re happy to help with the whole list.
Pearland Garage Door Repair Pros is your resource for everything on this checklist, from opener repair to a new door install. We work on Craftsman, LiftMaster, Chamberlain, Raynor, and the other leading systems directly, so diagnosis is specific to your hardware. Emergency service is available for the situations that can’t wait. Call (844) 956-5614 for a free estimate.
Written by the team at Pearland Garage Door Repair Pros.